Welcome to our Knowledge Base
Festivals
To edit or add a new festival, go to the left-hand side, select “Festivals,” and find the festival you want to edit.
To add a new festival, click “Add New” and enter the following fields:
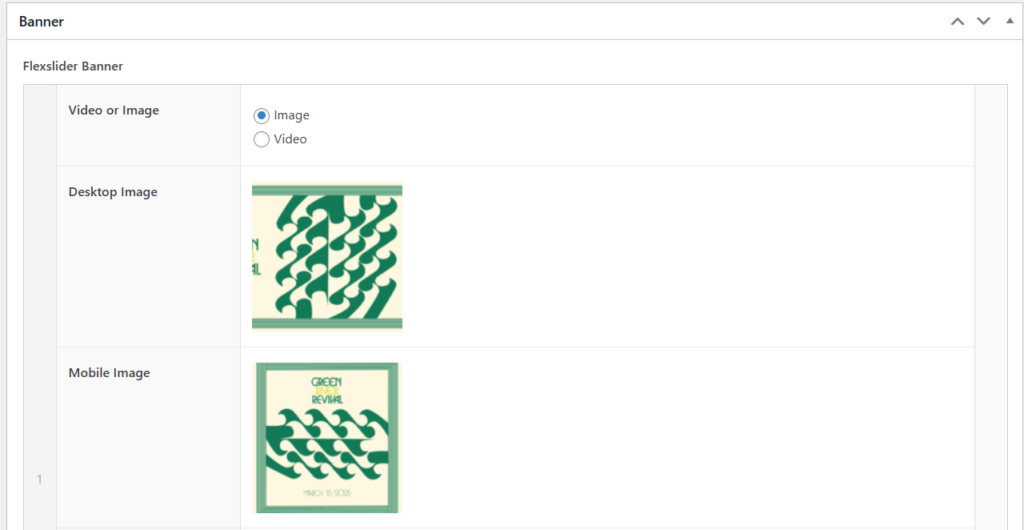
Banner
Default is “image”, but there is an option for “Video”. Upload desktop (1800px x 900px) and mobile (766 by 800 pixels)
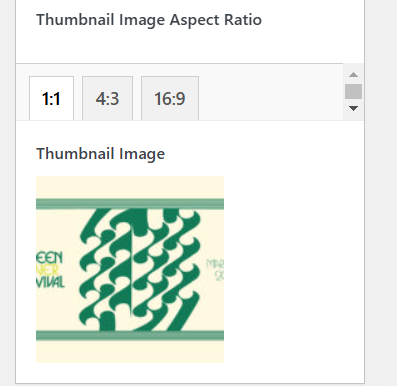
Thumbnail Image
Upload a thumbnail image (what is shown on Event tiles). Size: 1000 by 650 pixels
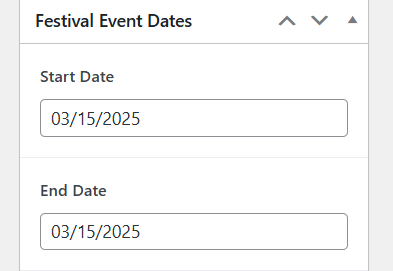
Festival Dates
Enter the start/end date of Festival on the right-hand side:
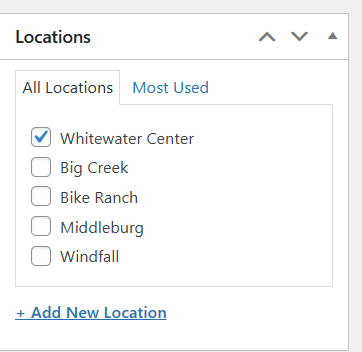
Festival Location
Indicate location of festival on the right-hand side:
Festival Brand Colors
There is an option to change the colors to match the festival branded colors (background/text)

Flexible Content
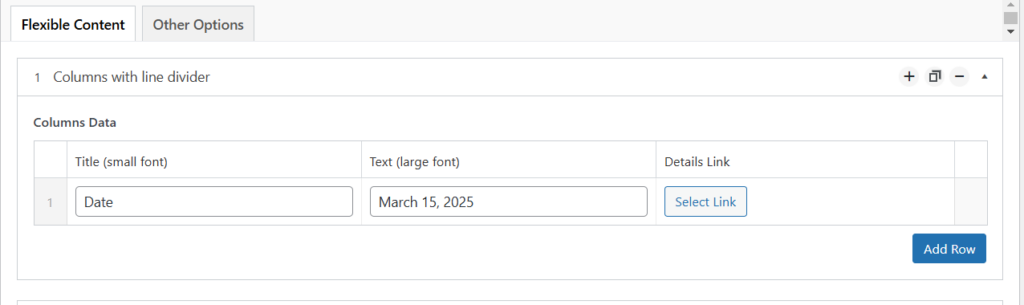
Columns with line divider: will show festival information at the top. You can add multiple items by clicking “Add Row” and entered title/text

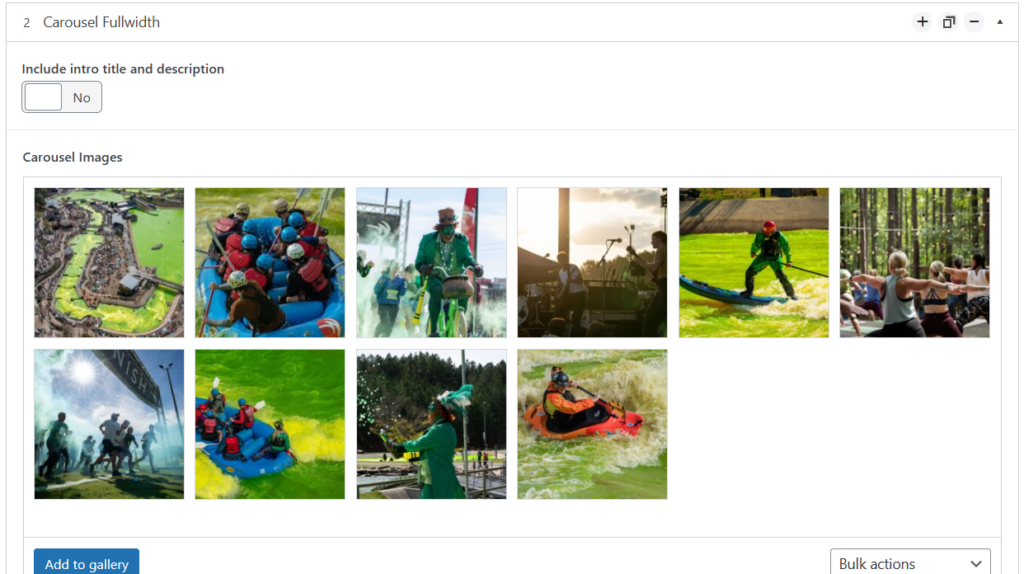
Carousel Fullwidth: Allows you to upload multiple images in carousel format.
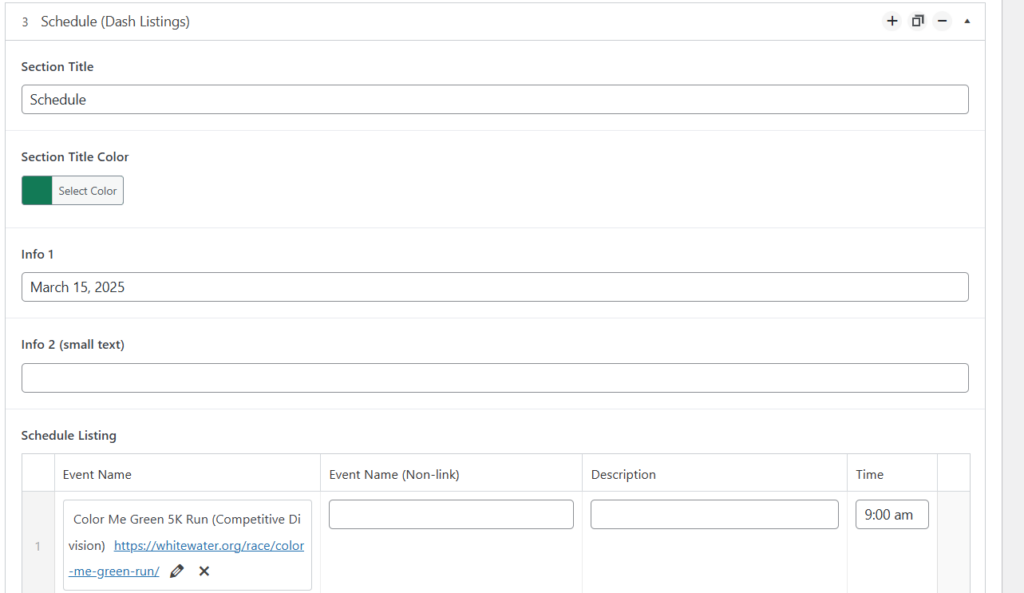
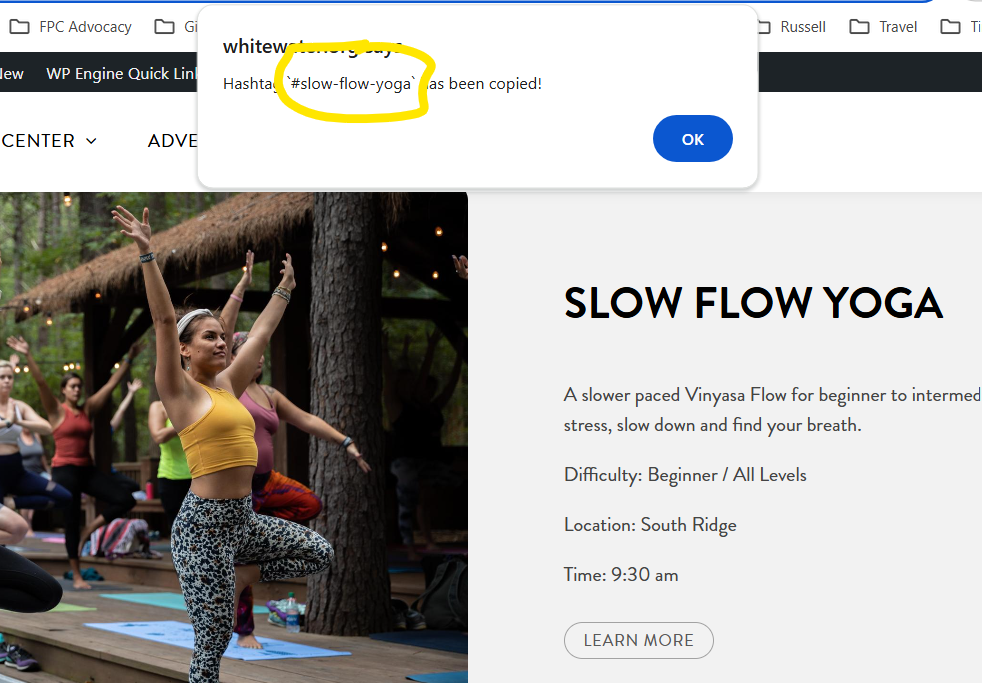
Schedule (Dash Listings): Enter the date and individual times. You can link event name to post page (ex. race) or you can link to festival activity. First set up festival activity (see below). When viewing from live website page, you can click on festival activity section and it will copy the shortcode (also #title of section).

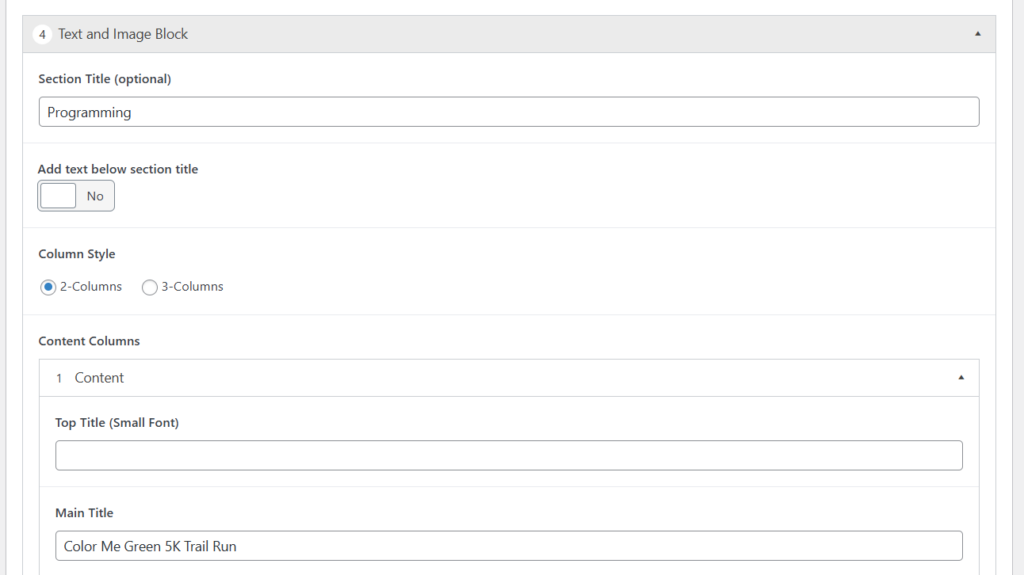
Programming: select “Text and Image Block” and select either 2 or 3 column layout. For festivals with a lot of programming, may prefer 3-columns. Add each program (image/text/button links if needed) and link to schedule above.
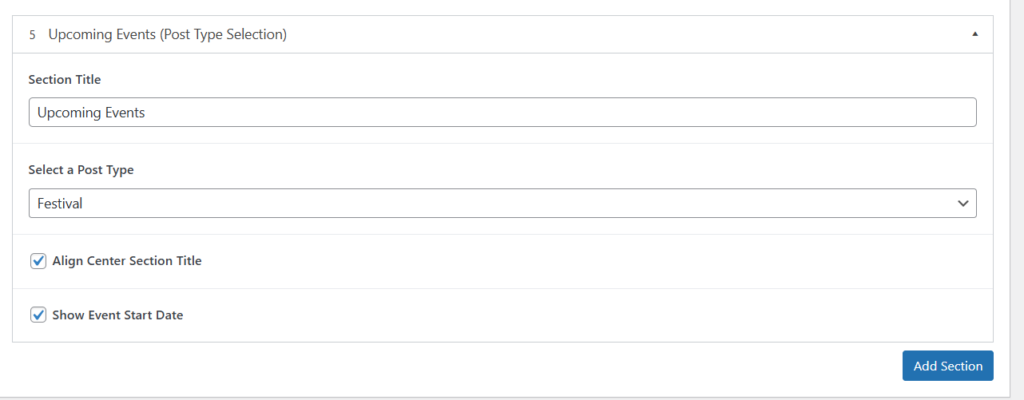
Upcoming Events
Select “Upcoming Events (Post Type Selection) and find “Festival” in drop down.
Click “Publish.”
Image note:
Images should not be larger than 2000px wide. Otherwise, it makes the page load slowly. Reduce images before uploading to site (I would not recommend using the editor on WordPress).