Welcome to our Knowledge Base
Adventure Dining
Under “Adventure Dining” click on “edit” under existing event or click “Add New Event.”
To add new event, add the following information:
- Event Title
- Description (full description)
- Event tile image (1000 by 650 pixels)
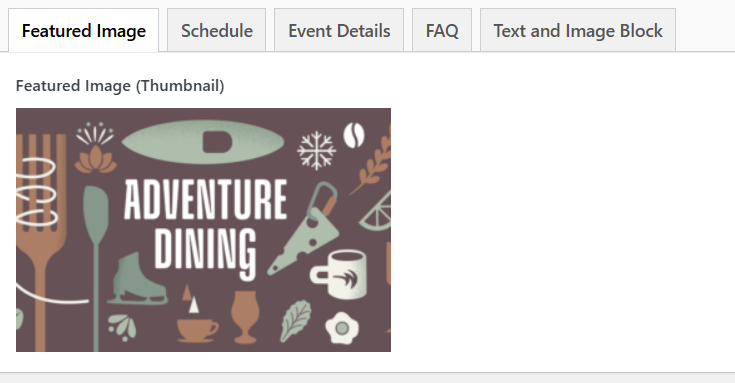
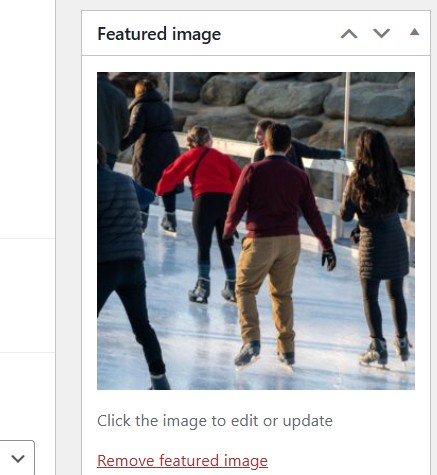
- Featured Image (banner image): 1800 px x 900px
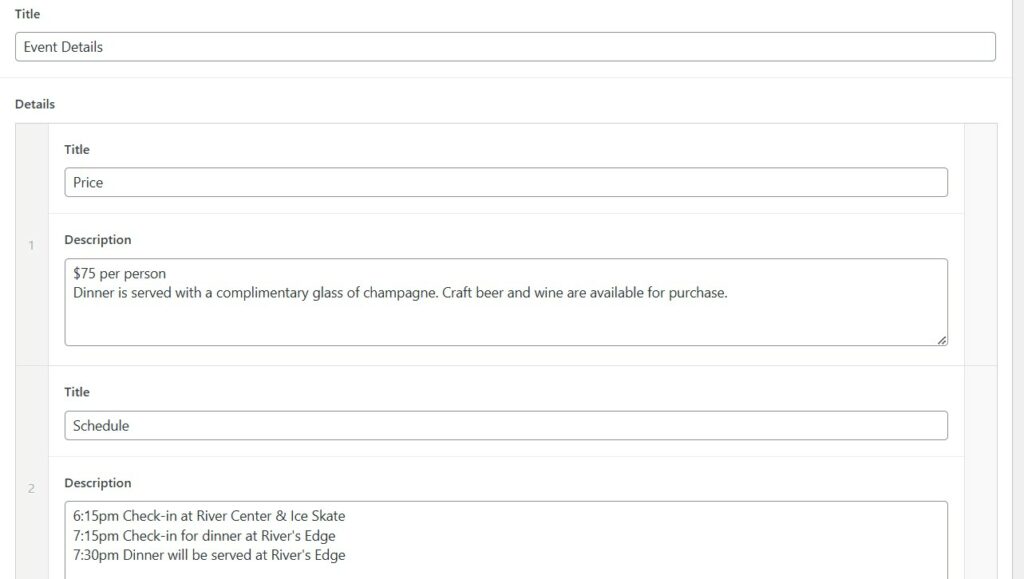
- Schedule information (start/end date, individual event times/menu links/time/Passport product link)

- Event Details
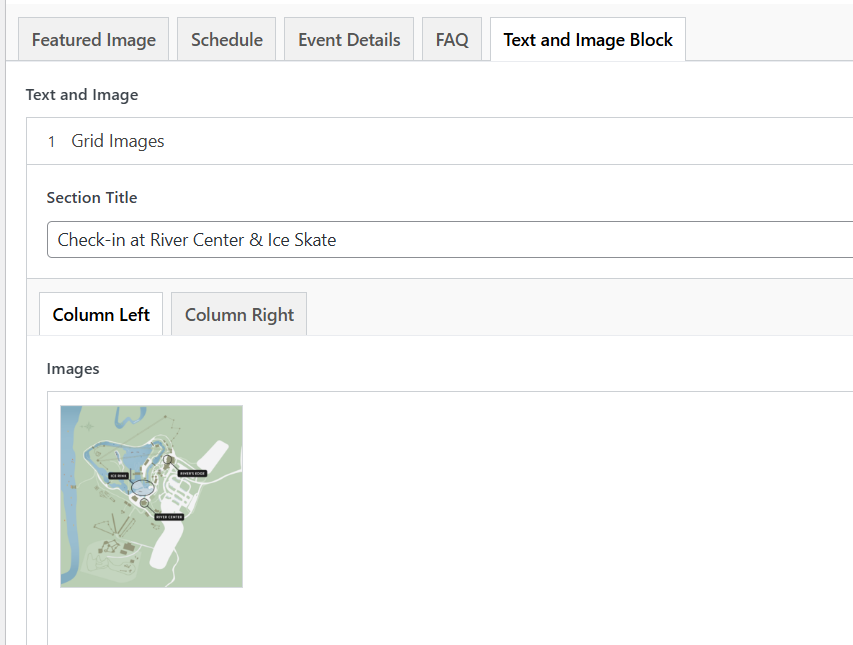
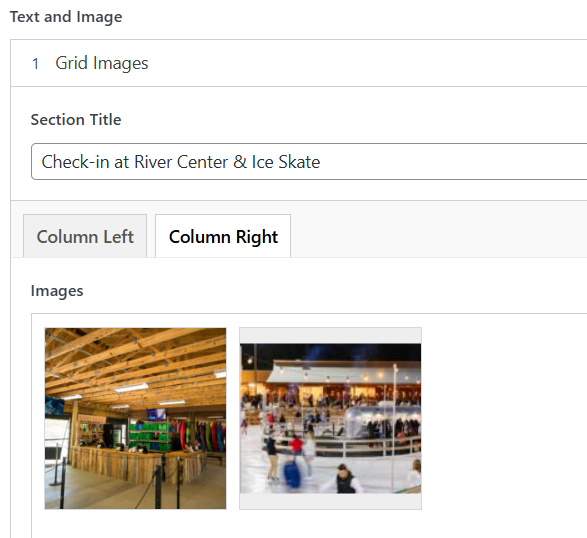
- check-in information (Under “Text and Image Block”), Section title will have location of check-in, on column left upload map and column right will have images)
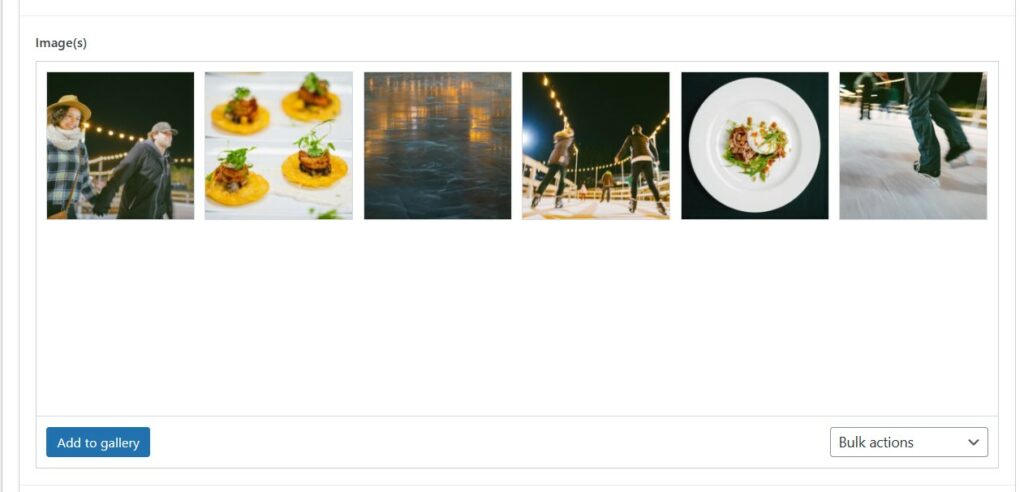
- Gallery – under “Text and Image Block” tab, you can add a block for Photo Gallery. Upload images.
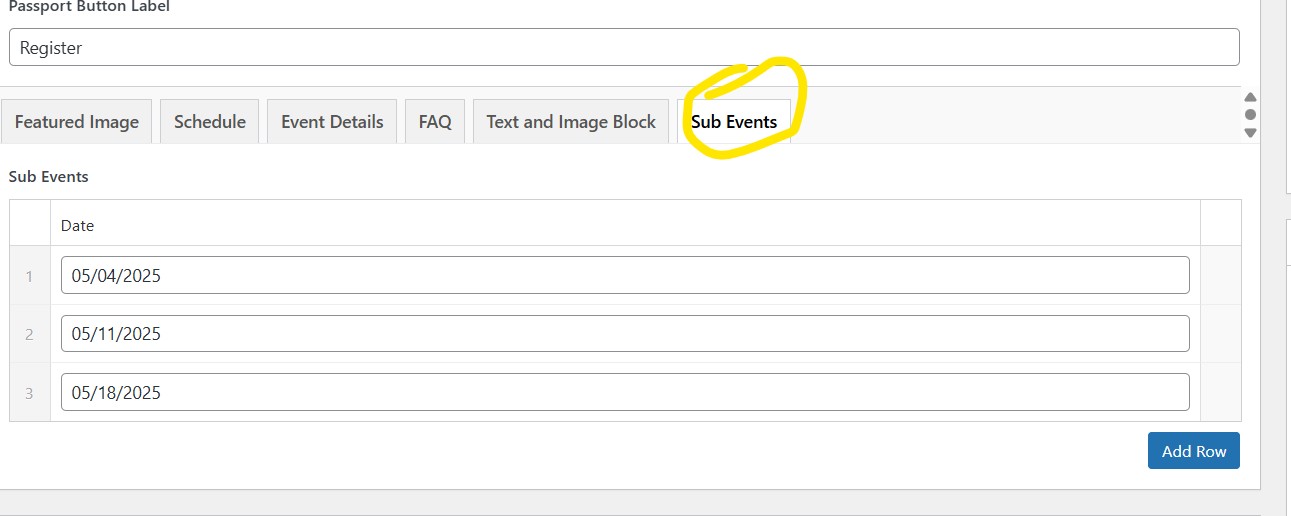
- Add dates to “Sub Event” tab (these are the dates that are pulled for the Events calendar):
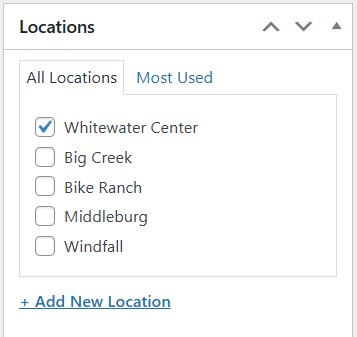
Location
Click “Publish.”
Add to Calendar
- Go to “Events” and click “Add new event.”
- Add Title
- Enter Date (times do not matter, so you can click “all day event”)
- Under Recurring Events, click “add more events” and enter each date.
- Under Event Website, paste the URL created above
- Click “Publish”